Ranking 5 of the Most Popular Xbox One Controllers
Looking To Upgrade From Your Traditional Xbox One Controller? This Post Will Lay Out Some Of The Pros…
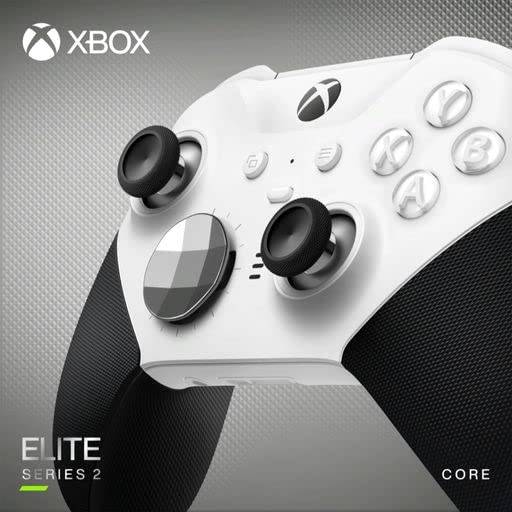
Looking To Upgrade From Your Traditional Xbox One Controller? This Post Will Lay Out Some Of The Pros…

If you spend a lot of time in front of a computer screen you may want to consider…

Have you ever experienced pain or soreness in your eyes after spending an extended period of time sitting at your computer? More than that, do your eyes suffer from irritation and itchiness after using staring at your monitor? These are the symptoms of EYE STRAIN!
If you’ve had thoughts about whether or not to build a trading computer this article may convince you…
It is by no means a commonly used device, but the roller ball mouse is by far a…
Over time, you may notice that your laptop battery is not holding a charge as long as it…
Looking to upgrade parts of your PC setup? This post goes over 5 of Amazon’s top rated computer…
If you are looking for a more unconventional seating arrangement, then perhaps what you are looking for is…
There are numerous factors to consider when choosing an ultra short throw projector or any type of projector…
Gaming chairs have become a staple for PC gamers and many console gamers. Amazon has a great selection…

As technology has been incorporated into the different gaming equipment used over the years, the gaming revolution has…
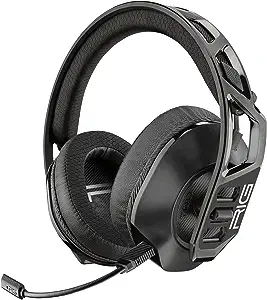
If you are looking for the best wired gaming headset on Amazon, then look no further. This post…
Curved gaming monitors are a very popular choice among gamers and if you have the budget then this…
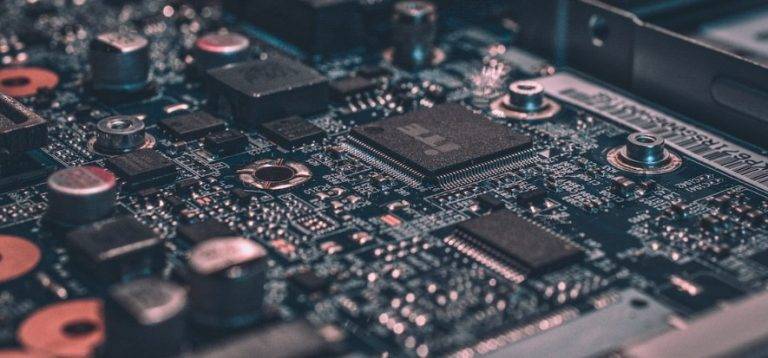
From faulty power supplies to careless handling, motherboard damage can be caused by many factors. In this blog,…

Finding the method for using control f on an iPad can be somewhat tricky. When using your iPad,…
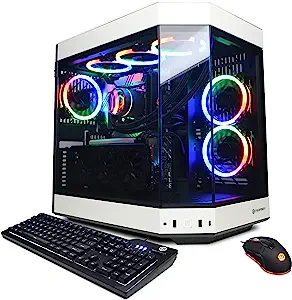
Looking to upgrade your PC setup with a prebuilt PC? This post goes over 5 of Amazon’s best…
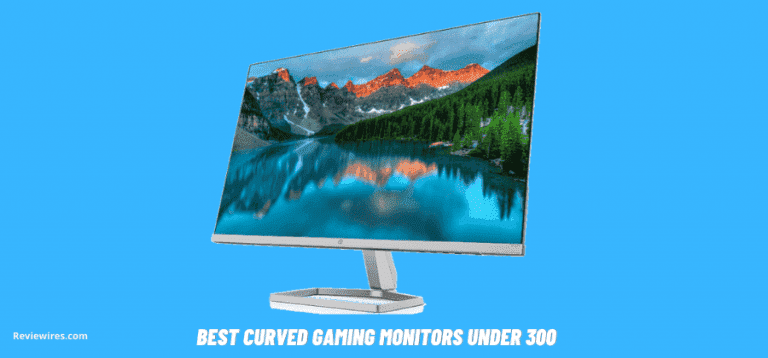
Curved gaming monitors continue to be a very popular choice for gamers. This post lists the 5 best…
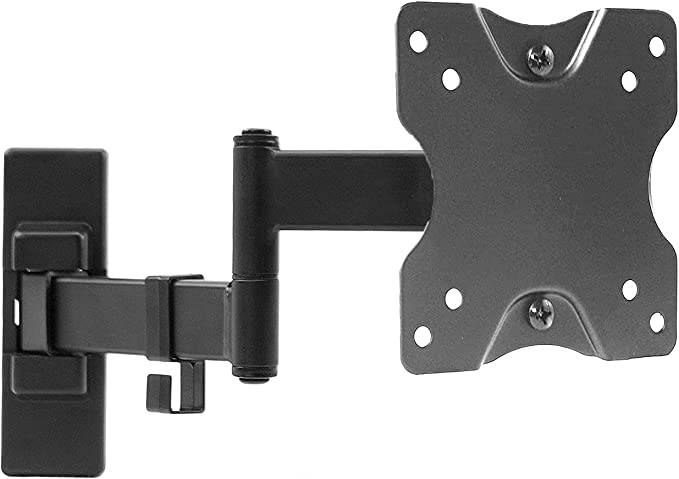
Many computer users are finding that using computer monitor wall mounts offer many benefits and there are good…
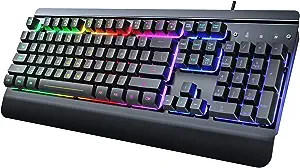
Looking to upgrade parts of your PC setup with a new keyboard? This post goes over 5 of…
Searching for a new wireless gaming headset can lead you to a variety of different options. Choosing the…
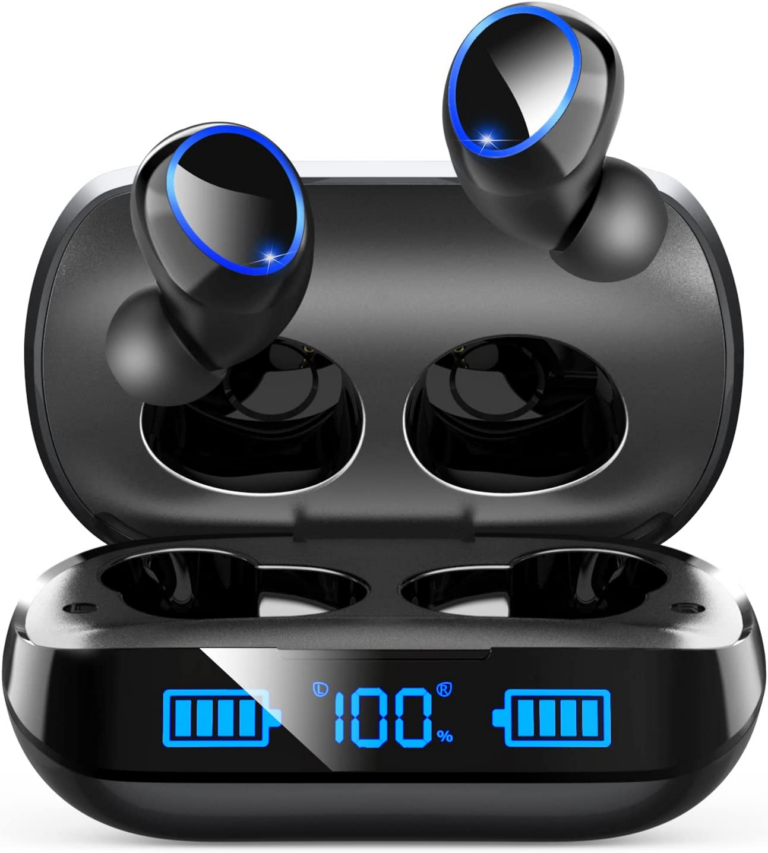
Do you want to upgrade your headphones to wireless earbuds but are unsure of which product is the…