Build a Trading Computer and find it’s Surprisingly Easy!
If you’ve had thoughts about whether or not to build a trading computer this article may convince you to take the plunge. With a little of the right research, resources, and minimal technical skill just about anyone is capable of building their first trading computer.
Reasons to Build a Trading computer
Building a trading computer offers enhanced performance, customization for trading needs, and cost-effectiveness in the long run. By carefully selecting the right components and optimizing the system for trading activities, you can achieve superior processing power and speed. Additionally, you have the flexibility to customize the computer to meet your specific trading requirements. Moreover, building your own trading computer can be a cost-effective solution compared to purchasing a pre-built system, allowing you to allocate your budget more efficiently.
Why did i decide to build a trading computer
I manage my own portfolio which I would describe as medium sized. The portfolio is made up of between 75 – 100 positions at any one time and consists mainly of individual stocks, ETFs, options and cash. My trading platform consisted of a 3 year old Acer Chromebook (Intel Pentium and 4GB of memory) tethered by a GiQ Mini USB 3.0 Docking Station to two Acer 23.8 inch monitors which created a three screen environment. Now I will give kudos to the GiQ docking station because it easily did the job of connecting the two monitors to my Chromebook using a USB-C connection. I also really like my Acer Chomebook but it simply doesn’t have the capacity to be anywhere near a decent trading platform. It proved to be a frustrating endeavor to manage the memory on the Chromebook. Yahoo finance browser tabs (oftentimes ten or more) were slow to load, my brokerage account was slow to load, as well as various other business activities (this website) proved just too much. My trading activity really shouldn’t take any more than 30 minutes each on Monday mornings and Friday afternoons, but I was spending easily at least 2 hours alone on Monday mornings trying to do research and enter the trades. I tried living with the frustration for a few months but when I missed a couple of trades that cost me money it was time to figure out a better solution.
My choices and final decision
After a little bit of thought and research, I figured I had three choices: 1) A new more powerful Chromebook. 2) A pre-built computer from a big box electronic store (I.e. – Best Buy) or online trading computer builder (I.e. – Falcon Trading Systems). 3) Build a trading computer myself.
It was easy to determine the Chromebook option was a non-starter. Spending $1000 or more on a higher-end Chromebook Plus most likely wasn’t going to solve some of the issues I was having and I really wanted to go to a four monitor setup. Choice two was certainly doable, however; it was hard to find exactly what I wanted at the big box store within my budget (~$1200) and Falcon certainly had what I needed but for the type of trading I do their systems were more powerful than needed, as well as, being above my budget. I found my biggest need was a graphics card that could support a four monitor setup, so I came to the conclusion that I should figure out if building my own computer was possible and within my budget.
The first step to build a trading computer
Determine the type of trader you are will determine the computer build
In general, I think there are three types of traders and deciding which one you are will determine your built. Just quickly the three types are: 1) Passive or mostly inactive buy and hold type. So more of an investor than a trader. I was this type initially. 2) Active type placing multiple weekly trades. Trades stocks, ETFs and various options trading strategies. I am this type of trader. 3) Day trader or a trader running data intensive programs. I don’t see myself becoming this type of trader at the moment. I know there is a trader spectrum but this is generally how I see it.
Identify Specific Trading Requirements
Once you’ve identified what type of trader you are let talk about general requirements. The type 1 trader (buy and hold investor) are the easiest. Most phones, tablets, laptops or desktops can suffice. As long as the method of choice can browse, view videos, check email etc. you are all set. The type 2 trader is going to need a more powerful setup that can support multiple monitors (if desired but not necessary), multiple research tabs (i.e. – Yahoo Finance), brokerage accounts, and other various trading/research tools (i.e. – Finchat.io). A powerful laptop would work if you don’t mind minimizing tabs or can still be tethered to a big monitor or multiple monitors. I don’t like the inconvenience of a laptop (unless I’m traveling), so for me a desktop with a good CPU, a good GPU (with 4 inputs for monitors), good memory and storage and cool form factor (case and light up fans) would be my choice. Now for the type 3 trader you’ll most likely need a very powerful desktop with a middle to top of the line CPU, a top tier GPU, 32 – 64GBs of memory or more, storage of at least 1TB, a case offering plenty of cooling capacity whether air cooled or liquid cooled and a healthy budget.
Resources used to build a trading computer
I primarily used just two resources for my build, pcpartpicker.com and two YouTube videos by GeekaWhat. I started with the following YouTube video from GeekaWhat. The video is called “How to Build a Gaming PC in under 15 Minutes!” because you’re basically building a Gaming PC. This video gives a quick, concise, easy rundown on the various parts you will need and how to assemble them. The first decision while watching the video is which direction to take – AMD or Intel. The manufacturer of the CPU will determine compatibility of the mother board and GPU. Because I own Intel stock, I went with an Intel processor and more specifically the Intel Core i-5. I figured for my needs I didn’t need an i-7 or i-9 and I didn’t think an i-3 would be powerful enough. I’ve included a full parts list below and comments on why I chose each component. Once everything is put together the second video from GeekaWhat, What To Do AFTER Building a Gaming PC! [BIOS, Drivers & Windows 11 Install!], which explains how to access the BIOS, install Windows 11 and any needed drivers. Just a reminder that you’ll need a wired keyboard and a wired mouse to complete this step. Once, you have determined the direction to take head over to pcpartpicker.com and create your part list. Two nice features of pcpartpicker.com is it makes sure all your parts are compatible and tracks the price of each part with cheapest place to buy the parts.
My trading Computer Build Parts list
CPU – Intel Core i5-13600KF 3.5 GHz 14-Core Processor. I chose this CPU because it was a good compromise between price and performance.
CPU Cooler – Thermalright SI-100 White ARGB 72.37 CFM CPU Cooler. The i5-13600KF doesn’t come with a CPU cooler so I chose this cooler based on price and looks.
Motherboard – MSI MAG B760 Tomahawk WIFI DDR4 ATX LGA 1700. I chose this motherboard because of positive reviews and that it had WIFI built in.
Memory – Corsair Vengeance RGB Pro SL 16 GB (2×8 GB) DDR4-3200 CL16. I decided to start with 16 GB. Easy to upgrade to 32 GB. Also, the RGB lights are a cool feature.
Storage – Samsung 970 Evo Plus 500 GB M.2-2280 PCIe 3.0X4 NVME Solid State Drive.
Video Card – Gigabyte WINDFORCE OC Rev 2.0 GeForce RTX 3060 12 GB Video Card. I chose this video card because I know it will support 4 monitors, it comes with 12GB of memory and the price is on the low end for video cards.
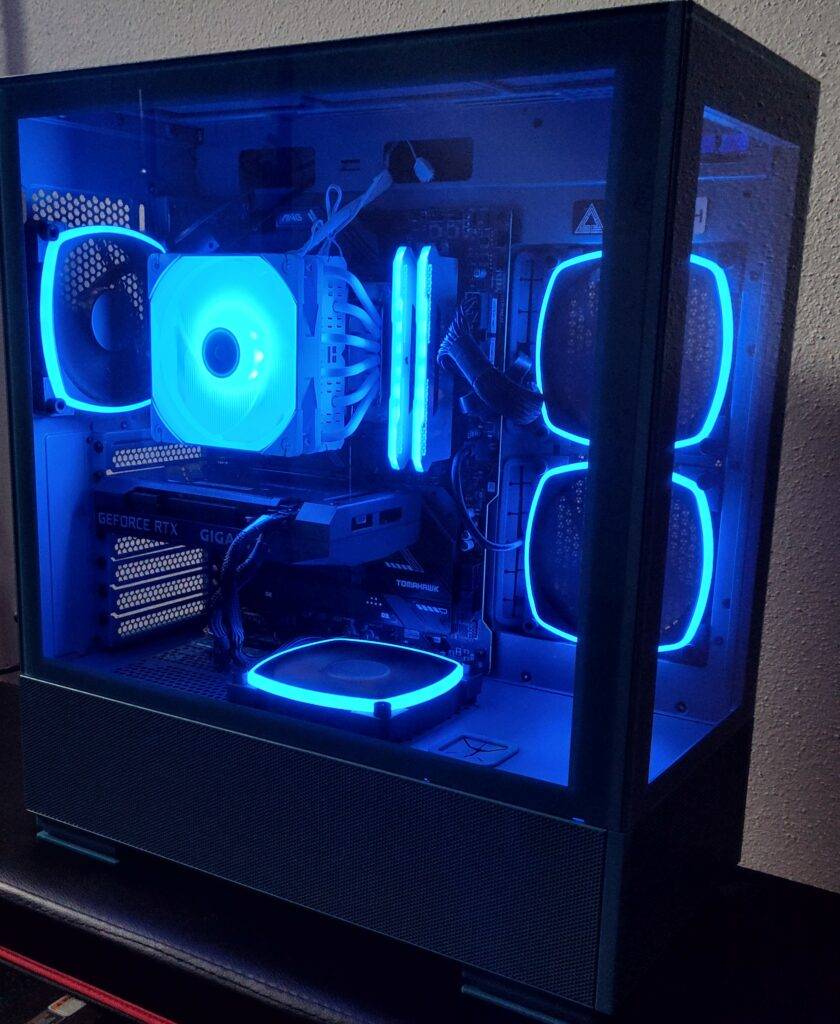
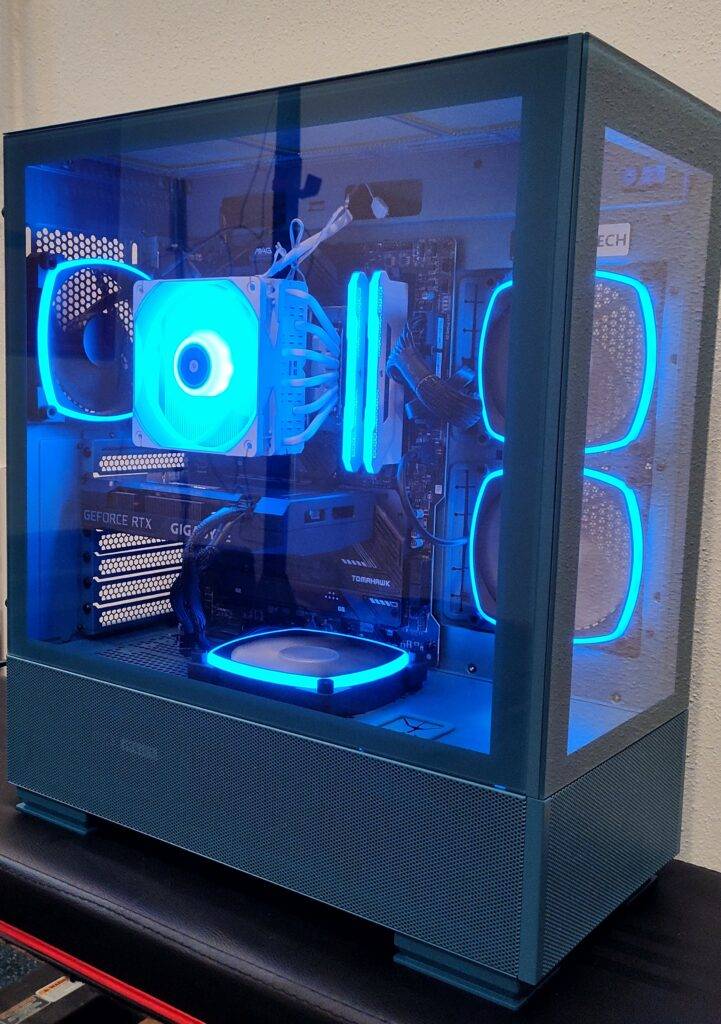
Case – Montech SKY TWO ATX Mid Tower Case. I chose this case because I could get it in blue and it had see through sides that were tempered glass, offering more scratch resistance than acrylic. The Montech case offers good airflow with four RGB fans and it offers good access during construction. I could have saved a bit of money if I’d went with a cheaper case.
Power Supply – MSI MPG A750GF 750 W Fully Modular ATX Power Supply. Offers plenty of wattage for how I’m using my computer as well as a little extra for future upgrading.
Operating System – Microsoft Windows 11 Home. Try to get the USB thumb drive version. You will need a wired mouse and keyboard to access the BIOS and for the installation of Windows.
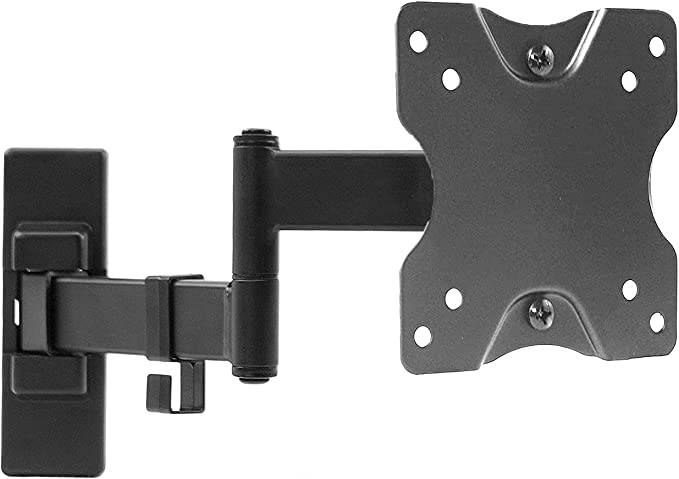
Two additional items I later bought were a wireless roller ball mouse at the recommendation of my two video game playing sons and a quad monitor stand. The mouse is a Logitech ERGO M575 and I absolutely love it. It’s easy to go from screen to screen with just a flick of my thumb. Check out a more detailed review here. The monitor stand is a Mount-It! Quad Monitor Stand | Height Adjustable Free Standing 4 Screen Mount and it fits screens up to 32 inches. It’s not particularly time consuming or difficult to assemble and it’s very adjustable which is good.
Conclusion
I spent approximately $1200 on this build and I am really happy with it. The computer ended up taking about 1 hour to assemble all the pieces and then another hour to download windows and configure drivers. I actually spent more time doing research and ordering parts than the actual assembly. I would strongly encourage you to build a trading computer because it is fairly easy and you can build exactly what you want. You can choose to spend a lot less than what I did or you can spend a lot more. Your choice. Good luck. Plus it just looks so cool.